dyed roving instructions
So I spent a good few hours last night dyeing new roving using food coloring. Here's how:
Items To Gather
-wool (or anything that was once on an animal)
-food coloring ($1 generic is fine)
-water
-white vinegar
-glass jars
-measuring cups
-pyrex casserole dish
-microwave (optional, can vbe done on stovetop, but I don't know how)
-saran wrap
-turkey baster (optional, if you're good at pouring)
-salad spinner (optional)
-food scale (optional)
1. First, I section the wool into one ounce clumps, using a food scale. Or you can just tear off pieces that are about 2x as long as the casserole dish.
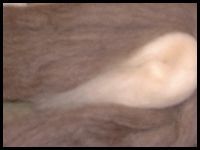
This is my wool, blurry.
2. Next, mix the dyes. I put 1 3/4 C water in with 1/4 C vinegar. Then about 20 drops of food coloring to make the colors I want.
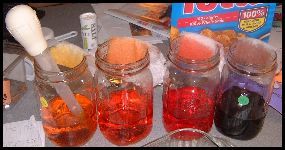
3. Lay the wool in the casserole dish. Squirt colors on it with the baster until you like what you see. I put a plastic bag on my hand and push down so the wool soaks up the liquid. Saturate as much as possible without letting the colors run together.
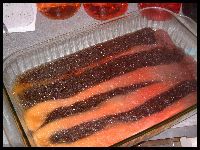
4. Cover the dish with saran wrap, poke it with holes, and cook in the microwave on high in 2 minute intervals. After each 2 minute chunk, lift off the wrap (CAREFULLY! IT BURNS!) and see if the water in the dish is clear. I usually will go for a total of 4-6 minutes, depending on the amount of liquid used. Now it looks like this:
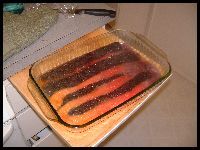
It looks a lot like before we cooked it, no?
5. This is very important. Gently slide the hot wool out of the bowl and into a strainer. I use the one in my spinner. Let it sit in the sink until it is very comfotable to the touch. In other words, let it cool on its own so it doesn't felt. Then wash it in water that's the same temperature as the wool, with a little dish soap. I dunk it several times in the same temperature water to rinse. Then I put in in my salad spinner:
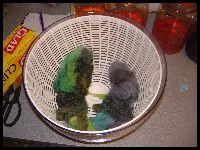
6. Spin.
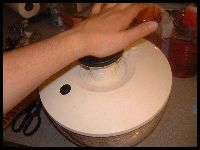
Or, alternately, wring it carefully by wrapping it in a large towel and rolling it. Be careful not to felt.
7. Hang to dry:
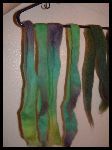
blues and greens on white wool
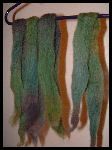
blues and greens on brown wool
8. Repeat step 6, but with a spinning wheel rather than a salad spinner.
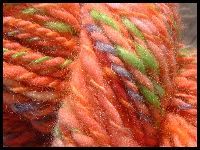
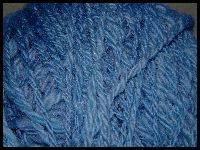
I know, you're wondering why the wool magically changed colors. But no, I dyed two different color batches!
Items To Gather
-wool (or anything that was once on an animal)
-food coloring ($1 generic is fine)
-water
-white vinegar
-glass jars
-measuring cups
-pyrex casserole dish
-microwave (optional, can vbe done on stovetop, but I don't know how)
-saran wrap
-turkey baster (optional, if you're good at pouring)
-salad spinner (optional)
-food scale (optional)
1. First, I section the wool into one ounce clumps, using a food scale. Or you can just tear off pieces that are about 2x as long as the casserole dish.
This is my wool, blurry.

2. Next, mix the dyes. I put 1 3/4 C water in with 1/4 C vinegar. Then about 20 drops of food coloring to make the colors I want.

3. Lay the wool in the casserole dish. Squirt colors on it with the baster until you like what you see. I put a plastic bag on my hand and push down so the wool soaks up the liquid. Saturate as much as possible without letting the colors run together.

4. Cover the dish with saran wrap, poke it with holes, and cook in the microwave on high in 2 minute intervals. After each 2 minute chunk, lift off the wrap (CAREFULLY! IT BURNS!) and see if the water in the dish is clear. I usually will go for a total of 4-6 minutes, depending on the amount of liquid used. Now it looks like this:

It looks a lot like before we cooked it, no?
5. This is very important. Gently slide the hot wool out of the bowl and into a strainer. I use the one in my spinner. Let it sit in the sink until it is very comfotable to the touch. In other words, let it cool on its own so it doesn't felt. Then wash it in water that's the same temperature as the wool, with a little dish soap. I dunk it several times in the same temperature water to rinse. Then I put in in my salad spinner:

6. Spin.

Or, alternately, wring it carefully by wrapping it in a large towel and rolling it. Be careful not to felt.
7. Hang to dry:

blues and greens on white wool

blues and greens on brown wool
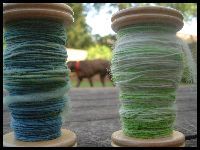
8. Repeat step 6, but with a spinning wheel rather than a salad spinner.
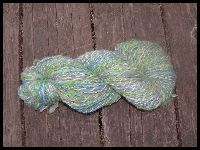
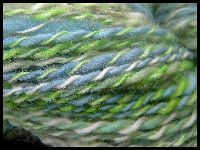
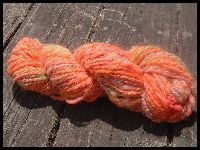
I know, you're wondering why the wool magically changed colors. But no, I dyed two different color batches!
